Are you ready to make a splash this summer? Whether you’re setting up an inflatable pool in your backyard, on the beach, or at a campsite, it’s essential to consider the terrain you’ll be working with. Uneven ground or sandy beaches can pose challenges, but with a few simple tips and tricks, you’ll have your pool up and ready for some water fun in no time. In this article, we’ll explore inflatable pool set-up tips for different terrains, ensuring a smooth and enjoyable experience for you and your family.
Choosing the Right Location
When it comes to setting up an inflatable pool, Choosing the right location is crucial for a successful and enjoyable experience. Consider the following factors to ensure you find the perfect spot for your pool.
Consider the Size of the Pool
Before setting up your inflatable pool, take into account its size. Ensure that the location you choose can comfortably accommodate the pool without any space constraints. You don’t want to be limited in your swimming area or have the pool obstructed by nearby structures.
Check for Obstacles and Hazards
Be mindful of any potential obstacles or hazards in the chosen location. Look out for sharp objects such as rocks, sticks, or broken glass that could puncture the pool. Additionally, consider nearby trees, low-hanging branches, or electrical wires that may pose safety risks and impact your swimming experience.
Evaluate Sun Exposure
The amount of sun exposure your pool receives is an essential factor to consider. You want to strike a balance between enjoying the sun and having some shade to escape from the heat. Avoid setting up your pool in constant direct sunlight, as it can cause the water to heat up quickly and make your swimming sessions uncomfortable.
Determine the Availability of Water Source
Before finalizing the pool location, ensure that there is a convenient water source nearby. You’ll need easy access to a hose or other water supply to fill up the pool. Having a water source in close proximity will save you time and effort during the setup process.
Consider Privacy and Noise Levels
If privacy is important to you, choose a location that offers seclusion from neighbors or passersby. Consider the noise levels as well, especially if you live in a busy area. You want to be able to enjoy your pool in peace without distractions or excessive noise. Choosing a location with privacy and minimal noise will enhance your overall swimming experience.
Preparing the Ground
Once you’ve chosen the perfect location, it’s time to prepare the ground for your inflatable pool. Proper Ground preparation is essential for the stability and longevity of your pool.
Leveling the Surface
Start by ensuring that the ground surface is level. Uneven ground can cause the pool to tilt or shift, potentially leading to water spillage or instability. To level the surface, you can use a shovel or rake to remove any excess dirt or make adjustments to the terrain. Aim for a smooth and flat surface that will provide a sturdy foundation for your pool.
Removing Debris and Sharp Objects
Before laying down any ground covers or tarps, thoroughly inspect the area and remove any debris or sharp objects. This includes rocks, stones, twigs, or anything that could potentially damage the pool or cause discomfort while swimming. Clearing the area of any hazards will help maintain the integrity of your pool and ensure a safe environment.
Using Ground Covers or Tarps
To provide an extra layer of protection for your inflatable pool, consider using ground covers or tarps. These materials not only prevent punctures from occurring but also help to keep the bottom of the pool clean. Lay down the ground cover or tarp evenly over the leveled surface, making sure it extends beyond the pool’s perimeter.
Considering Drainage Options
Ensure that the chosen location has proper drainage to avoid any water accumulation around the pool. If the ground is not naturally sloped for water runoff, consider creating small trenches or channels to redirect excess water away from the pool. Proper drainage will help prevent any damage to the pool and maintain a safe and clean swimming environment.
Setting Up on Grass
Setting up an inflatable pool on grass can provide a comfortable and natural environment for swimming. Follow these steps to ensure a smooth setup process.
Checking for Unevenness
Before placing your pool on the grass, carefully check for any uneven areas. Patchy or uneven grass can create instability, causing the pool to shift or tilt. If any uneven spots are detected, address them by leveling the ground or adding soil until the surface is even and stable.
Applying a Protective Layer
To protect the grass beneath the pool, consider applying a layer of tarp or groundsheet. This will prevent the pool’s weight from compressing the grass, minimizing damage and helping the grass to recover quickly once the pool is dismantled. Make sure to choose a sturdy and waterproof material for effective protection.
Using a Groundsheet or Tarp
Place the groundsheet or tarp over the leveled grass surface, ensuring it extends beyond the pool’s boundaries. Carefully position the pool on top of the protective layer, making sure it is centered and stable. The groundsheet or tarp will act as a barrier between the grass and the pool, reducing the chances of any damage or dirt transferring to the pool’s bottom.
Securing the Pool
To ensure the pool remains stable on the grass, use stakes or heavy objects to secure the pool’s sides. Place them at equal intervals around the pool’s perimeter, pressing them firmly into the ground. This will provide additional support and prevent any shifting or movement while you enjoy your swim.
Setting Up on Concrete
If you have a concrete area available, setting up your inflatable pool on this surface can be a convenient and sturdy option. Take the following steps for a successful setup.
Cleaning the Surface
Before placing your pool on the concrete, thoroughly clean the surface. Sweep away any debris, dirt, or dust that could potentially transfer to the pool or cause discomfort while swimming. Use a hose or pressure washer, if necessary, to remove stubborn dirt or stains.
Using Pool Pads or Foam Tiles
To provide cushioning and protection for your inflatable pool, consider using pool pads or foam tiles. These materials act as a buffer between the pool and the hard concrete surface, ensuring a more comfortable swimming experience and preventing damage to the pool’s bottom. Arrange the pool pads or foam tiles evenly over the concrete before placing the pool on top.
Using a Groundsheet or Tarp
Similar to setting up on grass, lay down a groundsheet or tarp on the concrete to create a barrier between the pool and the surface. This will help prevent any potential damage to the pool while also minimizing dirt transfer. Make sure the groundsheet or tarp extends slightly beyond the pool’s perimeter for maximum protection.
Securing the Pool
To secure the pool on the concrete, you may not require additional stakes. However, if you feel the need for extra stability, consider using sandbags or heavy objects around the pool’s edges. These weights will prevent any movement or shifting, ensuring your pool stays securely in place.
Setting Up on Sand
If you’re lucky enough to have a sandy area available for your inflatable pool, you can create a beach-like atmosphere in your backyard. Follow these steps for a successful setup on sand.
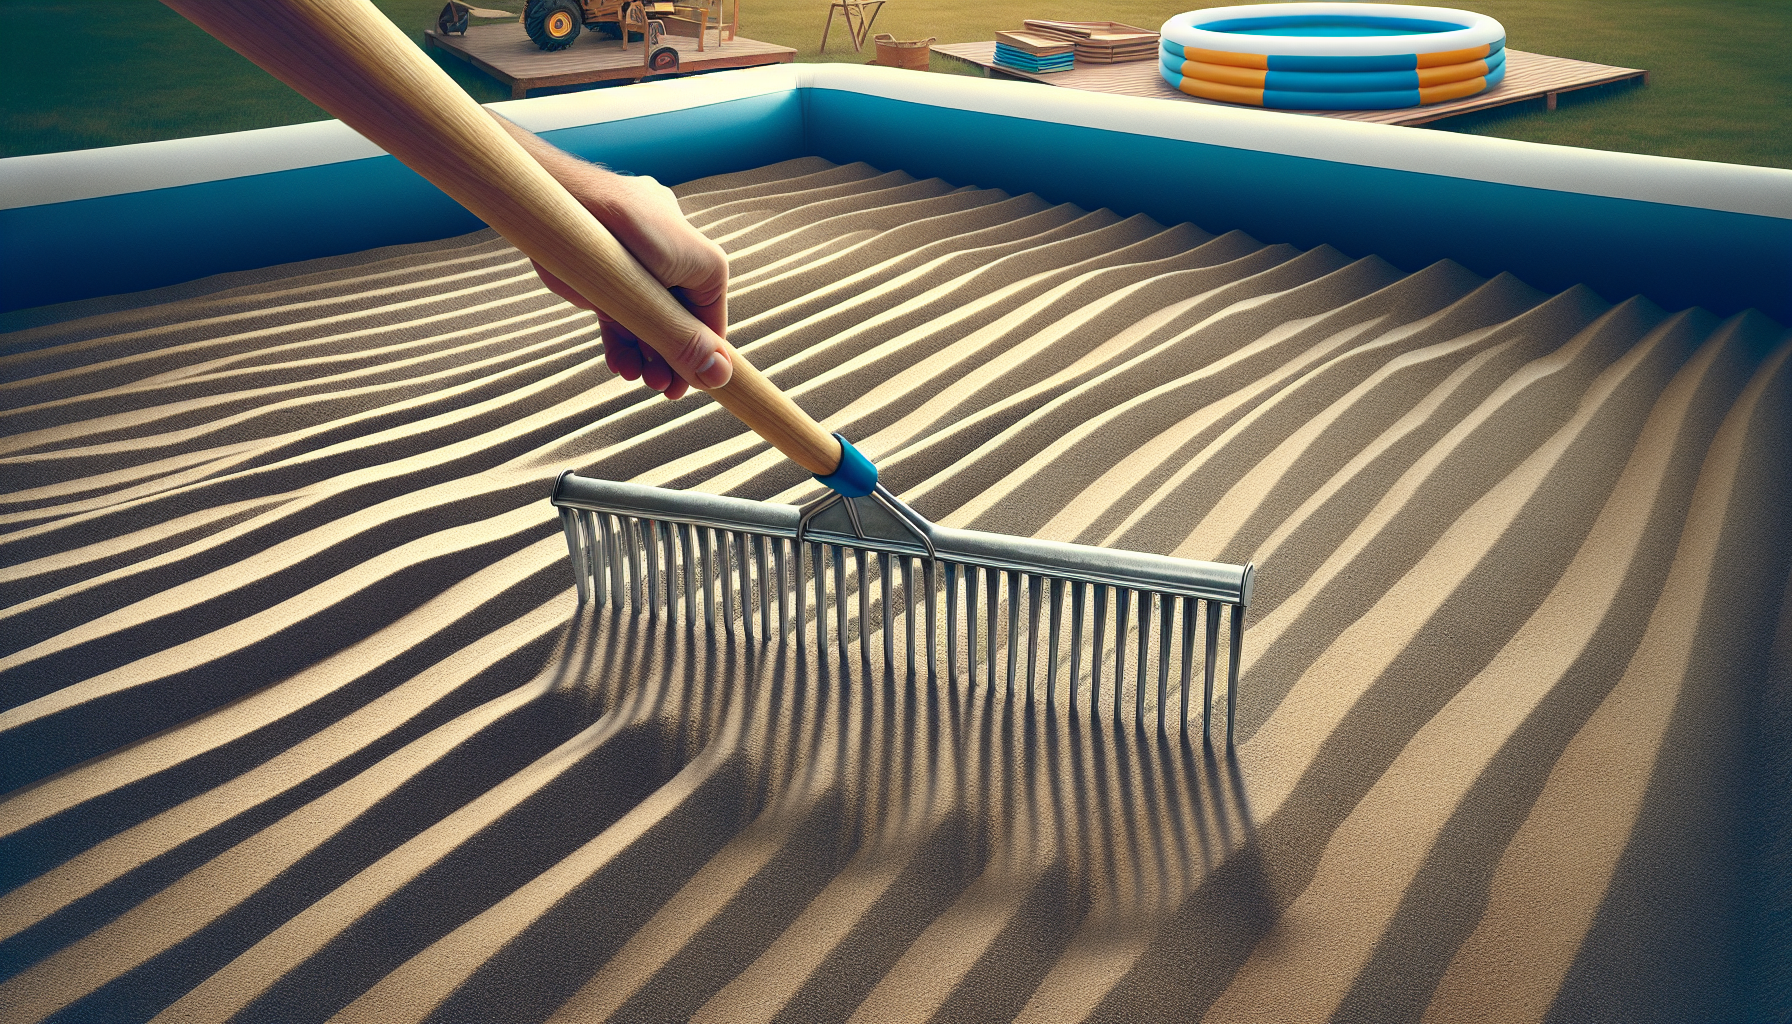
Leveling the Sand
Before setting up your pool, ensure that the sand is evenly leveled. Uneven sand can lead to an unsteady pool and potential water spillage. Use a rake or shovel to level the sand, making sure it is smooth and flat for a solid foundation.
Removing any Rocks or Shells
Inspect the sand area and remove any rocks, shells, or other debris that could damage the pool or cause discomfort. Clearing the surface of any sharp or abrasive objects will help maintain a pleasant swimming experience and prevent any potential punctures.
Using a Groundsheet or Tarp
Similar to other setups, it’s beneficial to use a groundsheet or tarp to provide an extra layer of protection between the sand and the pool. Lay the groundsheet or tarp over the leveled sand, ensuring it extends beyond the pool’s perimeter. This will help prevent any sharp objects from reaching the pool’s bottom and minimize sand getting inside the pool.
Securing the Pool
As sand provides a natural stabilization effect, securing the pool may not be necessary. However, if you expect strong winds or want additional stability, consider using stakes or sandbags around the pool’s edges. This will help keep the pool securely in place and prevent any unintended movement.
Setting Up on a Deck or Patio
If you have a deck or patio in your backyard, it can be an ideal location for setting up your inflatable pool. Ensure a successful setup by following these steps.
Checking Weight Limitations
Before setting up the pool on a deck or patio, check the weight limitations of the structure. Decks and patios have weight restrictions, and it’s essential to ensure that your pool, when filled with water, remains within those limits. Exceeding the weight capacity can cause damage to the structure and compromise safety.
Ensuring Proper Drainage
Ensure that your deck or patio has proper drainage to prevent any water accumulation. If the surface is not sloped for natural runoff, consider placing towels or absorbent mats in strategic areas to absorb any water seepage. This will help maintain a dry and safe environment for your pool setup.
Using a Protective Layer
To protect your deck or patio from potential damage, use a protective layer such as a groundsheet or tarp. Place the protective layer evenly on the surface, extending it beyond the pool’s boundaries. This will provide a buffer between the pool and the deck or patio, preventing any scratches or scuffs.
Securing the Pool
As decks and patios are typically stable surfaces, securing the pool may not be necessary. However, if you want extra peace of mind, consider using stakes or sandbags around the pool’s perimeter. This will help keep the pool in place and prevent any unintended shifting or movement.
Setting Up on a Slope
Setting up an inflatable pool on a slope can be challenging but not impossible. Take the following steps to ensure stability and safety.
Addressing Slope Stability
Before setting up the pool, evaluate the stability of the slope. Ensure that it is not too steep or prone to erosion, as this can undermine the pool’s foundation. If the slope seems unstable, it may be necessary to reinforce it or choose a different location altogether.
Creating a Level Platform
To accommodate the pool on a slope, you’ll need to create a level platform. This can be achieved by building a wooden platform or using cement blocks to level the ground. Ensure the platform is securely in place and provides a stable foundation for the pool.
Using Retaining Walls or Barriers
If the slope is particularly steep, consider using retaining walls or barriers to prevent soil erosion and maintain the stability of the platform. Retaining walls can be constructed using bricks, stones, or concrete blocks. They will help resist soil movement and secure the pool in place.
Securing the Pool
Given the natural inclination of a slope, it’s crucial to secure the pool to prevent any shifting or movement. Use stakes or sandbags around the pool’s edges, ensuring they are firmly planted in the ground. This will provide the necessary stability and prevent any potential accidents or water spillage.
Setting Up on Gravel or Pebbles
If you have a gravel or pebble area available, you can transform it into a refreshing pool environment. Follow these steps to ensure a successful setup.
Clearing Larger Gravel or Debris
Before setting up the pool, clear the area of any larger gravel or debris. These can cause discomfort underfoot or potentially damage the pool’s bottom. Remove any rocks or objects that aren’t suitable for swimming on and create a smooth surface for your pool.
Creating a Stable Base
To create a stable base for your inflatable pool, consider adding a layer of compacted sand beneath the gravel or pebbles. This will help level the surface and provide a more comfortable swimming experience. Ensure that the sand is evenly distributed and compacted to prevent any shifting or sinking of the pool.
Using a Groundsheet or Tarp
Similar to other setups, it’s recommended to use a groundsheet or tarp to protect the bottom of the pool. Lay the groundsheet or tarp over the surface, extending it beyond the pool’s perimeter. This will prevent any gravel or pebbles from puncturing the pool and keep the water clean.
Securing the Pool
As gravel or pebble surfaces are typically stable, securing the pool may not be necessary. However, if you expect strong winds or feel the need for extra stability, consider using stakes or sandbags around the pool’s edges. This will ensure the pool remains securely in place and prevent any unintended movement.
Setting Up on Dirt or Soil
If you don’t have any specific surfaces available, setting up your inflatable pool on dirt or soil is a viable option. Follow these steps to ensure a successful setup.
Leveling the Surface
Before setting up the pool, make sure the dirt or soil surface is as level as possible. Use a rake or shovel to remove any high spots or fill in any low areas. Aim for a smooth and even surface to ensure the stability of the pool.
Removing Rocks or Roots
Inspect the area and remove any rocks, stones, or roots that could puncture the pool or cause discomfort. Clearing the surface of any sharp or protruding objects will help maintain a safe and enjoyable swimming experience.
Using a Groundsheet or Tarp
Similar to other setups, it’s beneficial to use a groundsheet or tarp to protect the pool’s bottom. Lay the groundsheet or tarp over the leveled surface, ensuring it extends beyond the pool’s perimeter. This will prevent any dirt or debris from coming into contact with the pool and ensure the water remains clean.
Securing the Pool
To ensure the pool stays securely in place on the dirt or soil, use stakes or sandbags to secure the pool’s sides. Place them at equal intervals around the pool’s perimeter and push them firmly into the ground. This will provide additional stability and prevent any shifting or movement while you enjoy your swim.
Setting Up on a Balcony or Roof
If you have limited space in your backyard, setting up an inflatable pool on a balcony or roof can be a creative solution. However, it requires careful consideration and preparations. Follow these steps to ensure a safe and enjoyable setup.
Checking Load Capacity
Before setting up the pool on a balcony or roof, it’s crucial to verify the load capacity of the structure. Balconies and roofs have weight limitations, and exceeding them can lead to structural damage or collapse. Consult with a professional, such as an engineer or architect, to determine the maximum weight your balcony or roof can support.
Managing Water Drainage
Ensure that there is a proper drainage system in place for water runoff. Balconies and roofs are not naturally sloped for water drainage, so it’s important to address this issue. Use towels or absorbent mats to manage water seepage and prevent any water accumulation. Regularly check the drainage area to ensure it remains clear and functional.
Using a Protective Layer
To protect the surface of the balcony or roof, use a protective layer such as a groundsheet or tarp. Lay it down evenly, extending it beyond the pool’s boundaries. This will prevent any scratches or damage to the structure while also minimizing the transfer of dirt or debris to the pool.
Securing the Pool
The safety of setting up a pool on a balcony or roof heavily relies on securing the pool itself. Use sandbags or heavy objects around the pool’s perimeter to prevent any movement or shifting. Additionally, consider using pool safety nets or barriers to create a protective boundary, especially if there are young children or pets present.
In conclusion, setting up an inflatable pool requires careful consideration of various factors, including the size of the pool, location selection, and ground preparation. By following the tips outlined in this article, you can ensure a successful and enjoyable pool setup, regardless of the terrain you choose. So, get ready to dive into a refreshing and fun swimming experience right in the comfort of your own backyard.