So, you’ve noticed a tiny hole in your beloved inflatable pool, and the thought of losing precious summer fun is unbearable. No worries, my friend, because we’ve got you covered with a step-by-step guide to patching and repairing that pool in no time. Whether it’s a puncture, tear, or seam separation, we’ll walk you through the process with easy-to-follow instructions and friendly tips. Get ready to make a splash again with your fully restored and ready-for-action inflatable pool!

Gather the necessary materials
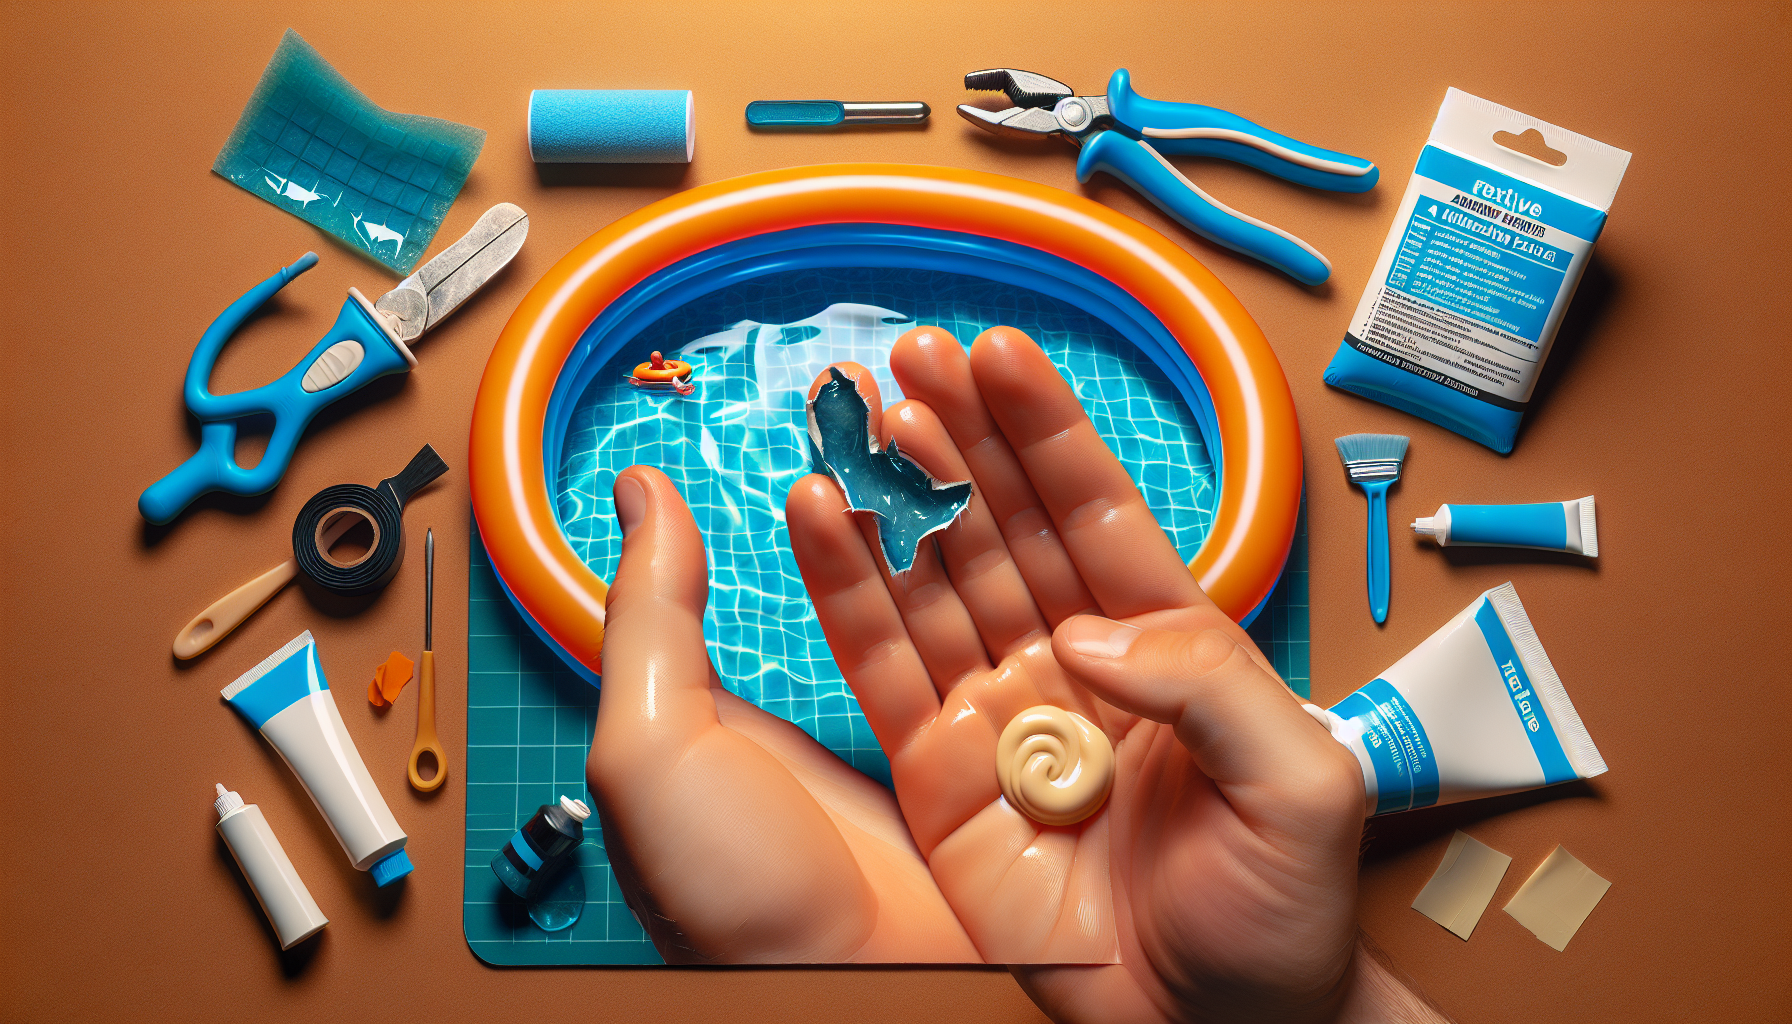
To start the patching and repairing process for your inflatable pool, it’s essential to gather all the necessary materials. Here’s a list of items you’ll need:
Patch kit
First and foremost, you’ll need a patch kit specifically designed for inflatable pools. These kits typically include various materials like patches and adhesive that are suitable for repairing the specific material your pool is made of.
Inflatable pool
Of course, you’ll need the inflatable pool itself. Make sure to have it deflated and empty before you begin the repair process.
Soap and water mixture
A mixture of soap and water will come in handy for cleaning the area around the leak. This solution will ensure that there is no dirt or debris that may interfere with the repair.
Scissors
Having a pair of sharp scissors is important for cutting the patch from the repair kit. Make sure they are clean and in good condition to create a precise and effective patch.
Sandpaper
You’ll need sandpaper to prepare the area around the leak. This will help create a rough surface for better adhesion between the patch and the pool material.
Marker or pen
A marker or pen will be useful for marking the location of the leak. This will ensure that you don’t lose track of the exact spot that needs to be repaired.
Glue or adhesive
Most patch kits include a specialized adhesive that is suitable for inflatable pools. Make sure to use the adhesive provided in the kit to ensure the best results for your repair.
Rubbing alcohol
Rubbing alcohol can be used to clean the area before applying the adhesive. It helps remove any remaining dirt or residue that may hinder the adhesion process.
Now that you have gathered all the necessary materials, let’s move on to the next step.
Identify the location of the leak
Before you can start the actual repair process, it’s crucial to identify the exact location of the leak in your inflatable pool. Here are some methods to help you pinpoint the leak:
Inspect the entire pool
Thoroughly inspect the surface of the pool, both visually and by touch. Look for any anomalies or irregularities that may indicate a potential leak. Pay attention to any areas that appear damaged or weaker than the rest of the pool material.
Look for bubbles or air escaping
If your inflatable pool has air trapped inside, it can be a useful indicator of a leak. Inflate the pool and carefully observe for any bubbles or air escaping from the pool’s surface. This can help lead you to the spot that needs repairing.
Listen for hissing sounds
Leaks often produce a distinctive hissing sound. Move your ear close to the pool’s surface and listen carefully for any faint hissing noises. This method can be particularly effective for smaller leaks that may be difficult to spot visually.
Check for damp spots
If the leak is significant enough, it may create noticeable damp spots on the surface of the inflatable pool or the area surrounding it. Run your hand over the pool’s surface and check for any areas that feel damp or moist. This is an indication of a leak that needs repair.
By using a combination of these methods, you should be able to determine the location of the leak in your inflatable pool. Once you’ve found it, it’s time to move on to the next step.
Prepare the area around the leak
Now that you’ve identified the location of the leak, it’s essential to properly prepare the area before applying the patch. Follow these steps to ensure an optimal repair:
Deflate the pool
Before you can begin preparing the area around the leak, make sure to deflate the pool completely. This will give you easier access to the damaged area and allow for a more thorough repair.
Clean the area with soap and water
Create a mixture of soap and water and use a cloth or sponge to clean the area around the leak. Make sure to remove any dirt, debris, or residue that may interfere with the adhesion of the patch.
Dry the area thoroughly
After cleaning, it’s important to dry the area completely. Use a towel or allow the area to air dry naturally. Avoid applying the patch to a damp or moist surface, as it can compromise the effectiveness of the repair.
Sand the area around the leak
Using sandpaper, gently sand the area around the leak to create a slightly rough surface. This will help the patch adhere better to the pool material. Be careful not to sand too aggressively, as it can damage the pool material further.
By following these steps, you are now ready to move on to the patching process.
Cut the patch
Now that the area around the leak is properly prepared, it’s time to cut the patch. Follow these steps to ensure a precise and suitable patch for your repair:
Measure the size of the leak
Using a ruler or measuring tape, determine the size of the leak. This will help you cut a patch that is slightly larger than the hole. It’s important to have an adequately sized patch to provide proper coverage and prevent any further leaks.
Use scissors to cut a patch from the repair kit
Take your scissors and carefully cut a patch from the repair kit. Make sure to follow the instructions provided in the kit and create a patch that matches the material of your inflatable pool.
Ensure the patch is slightly larger than the hole
Double-check that the patch you cut is slightly larger than the hole. This will ensure that it covers the damaged area entirely and provides a secure and long-lasting repair.
With a well-measured and cut patch, you’re now ready to apply the adhesive.
Apply adhesive to the patch
To ensure the patch properly adheres to the pool material, it’s crucial to apply the adhesive correctly. Here’s how you can do it effectively:
Follow the instructions on the repair kit
Different patch kits may have specific instructions for applying the adhesive. It’s essential to carefully read and follow the instructions provided in your particular kit. This will help you achieve the best adhesive application for your repair.
Apply a thin layer of adhesive to the patch
Using the adhesive provided in the kit, apply a thin and even layer to the underside of the patch. This will help create a strong bond between the patch and the pool material.
Spread the adhesive evenly
To ensure the adhesive covers the entire patch uniformly, spread it out using a small brush or your finger. Make sure there are no gaps or areas without adhesive. A well-spread adhesive will contribute to the longevity and reliability of your repair.
With the adhesive applied, it’s time to attach the patch to the pool.
Attach the patch to the pool
Properly attaching the patch is crucial for a successful repair. Follow these steps to ensure the best possible adhesion:
Place the patch over the leak
Carefully position the adhesive side of the patch over the leak in the pool. Make sure it aligns properly with the damaged area.
Press down firmly to ensure proper adhesion
Apply firm and even pressure to the patch, pressing it down onto the pool material. This will ensure that the adhesive bonds well and creates a secure seal. Do this for a few moments to promote optimal adhesion.
Smooth out any air bubbles
Gently rub the patch with your hand to smooth out any air bubbles that may have formed during the application process. Removing air bubbles will contribute to the stability of the patch and prevent future leaks.
Allow the patch to dry
Once the patch is securely attached, it’s important to allow it sufficient time to dry. Follow these guidelines for optimal drying:
Follow the recommended drying time on the repair kit
Different patch kits may have varying recommended drying times. Check the instructions provided in your kit for the specific duration. It’s crucial to allow the patch to dry completely before using the pool again to ensure a durable repair.
Avoid using the pool until the patch is completely dry
To prevent any damage or displacement of the patch, it’s best to avoid using the inflatable pool until the recommended drying time has passed. Patience is key to a successful and long-lasting repair.
Test the repair
Once the patch has dried, it’s time to test the effectiveness of your repair. Follow these steps to ensure the leak has been adequately addressed:
Inflate the pool
Carefully inflate your repaired inflatable pool. Make sure it holds air correctly and doesn’t show any signs of deflation.
Fill it with water
Once the pool is inflated, fill it with water to the desired level. Keep an eye out for any indications of leakage during the filling process.
Observe for any signs of leakage
Observe the pool closely for any signs of leakage, such as water dripping or escaping from the repaired area. Take your time to ensure there are no new leaks present.
Check the patched area for air bubbles
Inspect the patched area for any air bubbles that may have formed after filling the pool with water. Any new air bubbles could indicate that the patch hasn’t adhered properly. If this is the case, it may be necessary to reapply the patch or seek additional assistance.
By following these steps and conducting a thorough test, you can have confidence in the success of your inflatable pool repair.
Additional tips and precautions
In addition to the step-by-step guide mentioned above, here are some additional tips and precautions to keep in mind during the patching and repairing process:
Store the patch kit in a safe and easily accessible place
After completing the repair, make sure to store the patch kit in a secure and accessible location. This will enable you to quickly address any future leaks or damages to your inflatable pool.
Inspect the pool regularly for any new leaks
Even after completing a successful repair, it’s essential to regularly inspect your inflatable pool for any new leaks. Catching them early can prevent further damage and the need for more extensive repairs.
Avoid overinflating the pool
Overinflating the pool can put unnecessary strain on the materials and increase the risk of new leaks or damages. Follow the manufacturer’s guidelines for the optimal inflation level to maintain the integrity of your inflatable pool.
Avoid sharp objects or rough surfaces
To prevent future leaks, carefully choose the location where you set up your inflatable pool. Avoid areas with sharp objects or rough surfaces that could puncture or damage the pool material. By being mindful of the surroundings, you can enjoy a longer-lasting and trouble-free pool experience.
By following these helpful tips and taking precautions while patching and repairing your inflatable pool, you can extend its lifespan and ensure many enjoyable pool days to come.