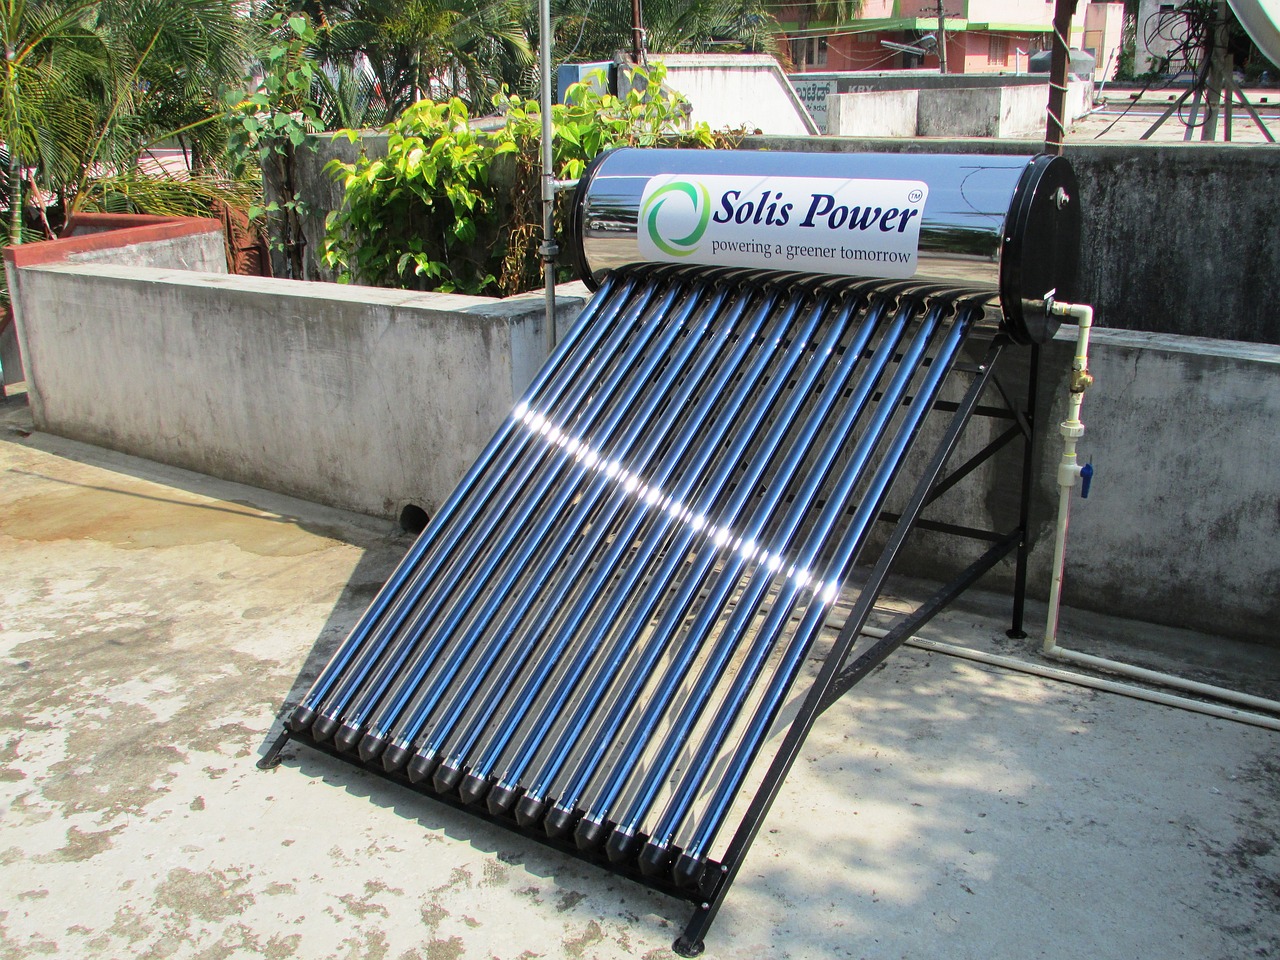
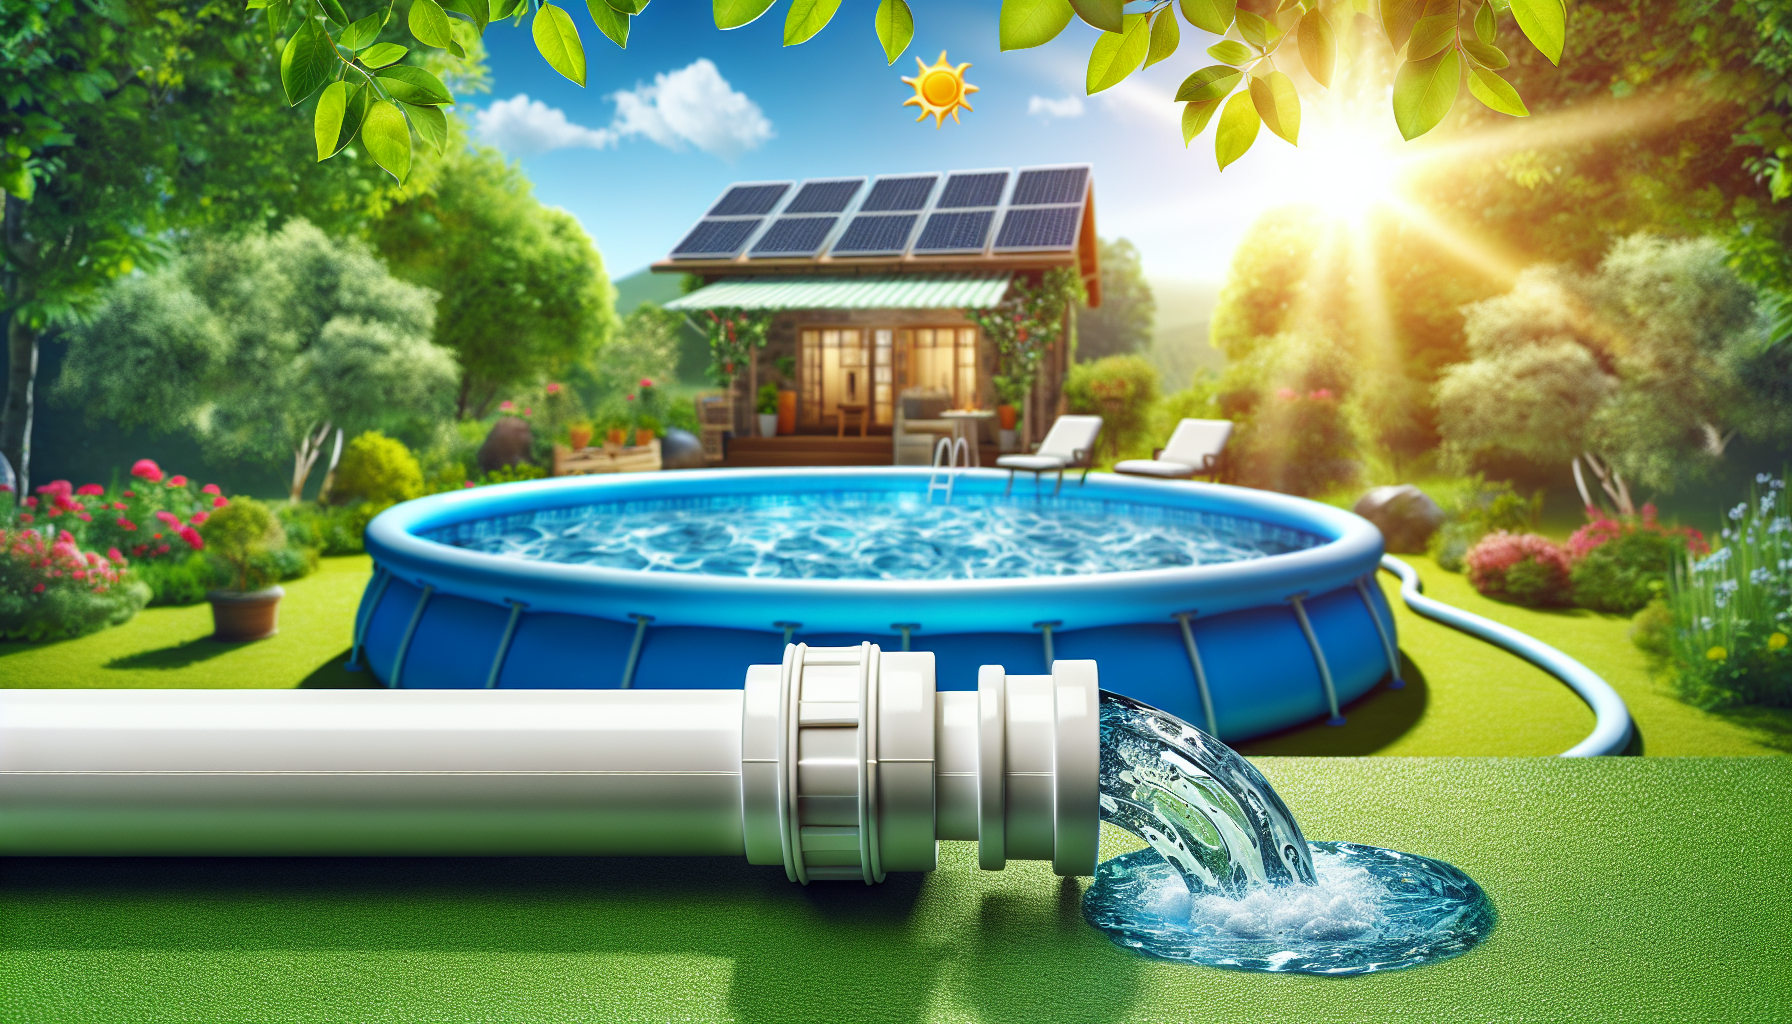
Want to make the most of your inflatable pool without breaking the bank? Look no further! In this step-by-step guide, we will show you how to create your very own DIY solar heater for your inflatable pool. With just a few simple materials and a little bit of time, you can enjoy comfortably warm water all summer long. So, grab your tools and let’s get started on this exciting project!

Materials Needed
To build your own DIY solar heater for your inflatable pool, you will need the following materials:
- Solar pool heater kit
- Inflatable pool
- Hose
- PVC pipes
- Tape measure
- Marker
- Scissors
- Drill
- Hose clamps
- Sandpaper
Having all these materials ready will ensure a smooth and hassle-free installation process.
Preparation
Before you start assembling and installing your solar heater, there are a few important steps to take.
-
Choose a sunny location: Find a spot in your backyard that receives ample sunlight throughout the day. This is crucial for the solar heater to work efficiently and effectively.
-
Measure the pool dimensions: Use a tape measure to determine the size of your inflatable pool. Knowing the dimensions will help you position the solar heater correctly and calculate the amount of PVC piping needed.
-
Determine the optimal position for the solar heater: Take into consideration the sun’s path and any surrounding objects that may cast shadows on the solar heater. Aim for an area with unobstructed sunlight for maximum heat absorption.
-
Clean the inflatable pool: Before installing the solar heater, make sure your inflatable pool is clean and free from any debris. This will prevent clogging and maintain the water quality throughout the pool season.
By following these preparation steps, you will set yourself up for success when it comes to building your DIY solar heater.

Assembling the Solar Heater
Now that you have gathered all the necessary materials and completed the preparation phase, it’s time to start assembling the solar heater.
-
Unpack the solar pool heater kit: Open the package and lay out all the components. Familiarize yourself with each piece to ensure a smooth assembly process.
-
Lay out the components: Arrange the PVC pipes, hose clamps, and other parts of the solar heater in an organized manner. This will help you visualize the assembly process and prevent any confusion.
-
Attach the PVC pipes: Use the scissors or a saw to cut the PVC pipes to the desired lengths, based on your pool dimensions. Connect the pipes using the provided connectors or adhesive, following the manufacturer’s instructions.
-
Connect the hose to the PVC pipes: Attach the hose to the PVC pipes using hose clamps. Make sure the connection is secure and leak-free. This will ensure proper circulation of water between the solar heater and the pool.
-
Secure all connections with hose clamps: Double-check that all connections between the PVC pipes and the hose are tightened securely with hose clamps. This will prevent any leakage or loss of heat during operation.
-
Ensure a tight and leak-free assembly: Inspect the entire solar heater assembly for any potential leaks or loose connections. Tighten any loose fittings and address any issues before proceeding.
-
Position the solar heater near the pool: Place the assembled solar heater in the optimal position near your inflatable pool. Consider factors such as accessibility, sunlight exposure, and proximity to the pool for ease of installation.
By following these steps, you will have a fully assembled solar heater ready for installation.
Installing the Solar Heater
With the solar heater assembled, it’s time to install it and connect it to your inflatable pool.
-
Prepare the pool area: Clear the area around your pool, removing any obstacles or debris that may interfere with the installation process. Ensure a clean and safe space to work in.
-
Dig a shallow trench for the PVC pipes: Use a shovel or a small digging tool to create a shallow trench that will accommodate the PVC pipes. This trench will allow you to bury the pipes and maintain a clean and organized look.
-
Place the solar heater in the optimal position: Position the solar heater in the previously determined optimal location, taking into account the sunlight exposure and proximity to the pool.
-
Connect the solar heater to the pool: Attach one end of the hose connected to the solar heater to the pool’s water inlet or outlet. Make sure the connection is secure to prevent any leaks.
-
Bury the PVC pipes in the trench: Carefully bury the PVC pipes inside the shallow trench, ensuring they are well-hidden and protected. This will maintain the aesthetics of your pool area while allowing for efficient water circulation.
-
Secure the pipes with sand: Cover the buried PVC pipes with sand to provide stability and protection. This will prevent any movement or damage to the pipes, ensuring a long-lasting installation.
-
Ensure the proper slope for water flow: Check the slope of the PVC pipes to ensure proper water flow from the solar heater to the pool. Adjust the positioning if necessary to avoid any potential water stagnation or backflow.
With the solar heater correctly installed and connected to your inflatable pool, you are one step closer to enjoying a warmer swimming experience.

Testing and Adjusting
Before you can dive into your newly heated pool, it’s essential to test and adjust the solar heater for optimal performance.
-
Fill the pool with water: Fill your inflatable pool with water to the desired level. This will allow you to assess the effectiveness of the solar heater in heating the water.
-
Turn on the solar heater: Start the solar heater and allow it to run for a few hours. Monitor the temperature increase in the pool water to gauge the efficiency of the system.
-
Monitor the water temperature: Use a pool thermometer to regularly check the temperature of the water. This will help you determine if the solar heater is effectively heating the pool to your desired comfort level.
-
Adjust the solar heater position if needed: If you notice any inconsistencies in water temperature, consider adjusting the position of the solar heater to maximize exposure to sunlight. Experiment with different angles or orientations to achieve the best results.
-
Check the flow rate and adjust accordingly: Ensure that the water flow rate through the solar heater is adequate for efficient heating. Adjust the valves or flow control mechanisms, if available, to optimize the flow rate.
-
Fine-tune the system for optimal heating: Continuously monitor the performance of the solar heater and make any necessary adjustments to achieve the ideal water temperature. Tweak settings and configurations until you find the sweet spot for your pool heating needs.
With proper testing and adjustments, you can achieve the desired water temperature and enjoy an extended swimming season.
Maintenance and Safety
To keep your DIY solar heater running smoothly and ensure a safe swimming experience, regular maintenance and safety precautions are necessary.
-
Keep the solar heater clean and free from debris: Regularly clean the solar heater’s components, such as the PVC pipes and the solar panels themselves, to prevent debris from obstructing the system’s efficiency.
-
Regularly inspect the system for leaks: Check for any leaks or loose connections throughout the solar heater. Address any issues promptly to prevent water loss and maintain optimal heating performance.
-
Remove any airlocks in the pipes: If you notice airlocks in the PVC pipes, which can hinder water circulation, release the trapped air by carefully opening the valves or adjusting the system as needed.
-
Ensure the system operates within safe temperatures: Monitor the system’s temperature to prevent overheating or any potential safety hazards. Follow the manufacturer’s guidelines and recommended temperature ranges for optimal operation.
-
Monitor the pool water quality: Regularly test the pool water for pH levels, chlorine levels, and overall water quality. Proper water maintenance will ensure a safe and enjoyable swimming experience.
-
Follow proper safety precautions: When working with the solar heater or any related components, always prioritize safety. Wear appropriate protective gear, handle tools responsibly, and follow safety guidelines to prevent accidents and injuries.
By following these maintenance and safety practices, you can enjoy the benefits of your DIY solar heater while ensuring a safe and clean swimming environment.
Benefits of DIY Solar Heater
Investing in a DIY solar heater for your inflatable pool offers numerous benefits that make it an appealing option for pool owners.
-
Reduced energy costs: By harnessing the power of the sun, a solar heater significantly reduces reliance on traditional energy sources, leading to substantial savings on your energy bills.
-
Eco-friendly heating solution: Solar heating is a renewable and clean energy option, resulting in a lower carbon footprint compared to conventional heating methods. By using solar energy, you contribute to a greener planet.
-
Extended swimming season: With a solar heater, you can extend your pool season, enjoying comfortable water temperatures even during cooler months. Increase the usability of your pool and make the most of your investment.
-
Customizable and scalable system: DIY solar heaters offer flexibility in design and installation. You can customize the system to suit your pool size and shape, allowing for a tailored heating solution.
-
Suitable for different pool sizes and shapes: Whether you have a small inflatable pool or a larger above-ground pool, a DIY solar heater can be adapted to meet the heating requirements of various pool sizes and shapes.
By embracing the benefits of a DIY solar heater, you can enhance your swimming experience while being more energy-conscious and environmentally friendly.
Considerations and Limitations
While DIY solar heaters offer many advantages, it’s important to be aware of certain considerations and limitations:
-
Solar heater efficiency depends on sunlight availability: The effectiveness of a solar heater depends on the amount of sunlight available in your area. Factors such as climate and weather patterns can affect its performance.
-
Effectiveness may vary in colder climates: In colder climates, the solar heater may struggle to provide sufficient heat for comfortable swimming. Consider additional heating sources if you live in an area with harsh winters.
-
Requires initial setup and investment: Building a DIY solar heater requires some initial setup, including purchasing materials and investing time in assembly and installation. However, the long-term energy savings often outweigh the upfront costs.
-
May not heat the pool to very high temperatures: While a solar heater can significantly increase water temperature, it may not reach extremely high temperatures. Set realistic expectations for the heating capabilities of the system.
-
Additional heating sources may still be necessary: Depending on your climate and personal preferences, you may need to supplement the solar heater with additional heating sources, such as a pool heat pump or electric heater, to achieve desired temperatures.
Understanding these considerations and limitations will help you make an informed decision when it comes to choosing the best heating solution for your inflatable pool.
Tips and Troubleshooting
To ensure optimal performance and troubleshoot any issues that may arise, consider the following tips:
-
Ensure proper positioning for optimal sunlight exposure: Regularly assess the position of the solar heater to maximize sunlight exposure throughout the day. Adjust the angle or direction to capture the most sunlight possible.
-
Use insulation to maximize heat retention: Insulating the PVC pipes can help retain heat and prevent rapid cooling. Consider wrapping the pipes with insulation material or using insulating sleeves designed for this purpose.
-
Check for any air or water leaks: Regularly inspect the solar heater assembly for any signs of air or water leaks. Address any leaks promptly to ensure optimal performance.
-
Clean or replace clogged filters: If you notice reduced water flow or poor heating performance, check and clean the filters. Clogged filters can restrict water flow and decrease the system’s efficiency.
-
Monitor and adjust flow rates for efficient heating: Continuously monitor the flow rate of water through the solar heater. Adjust valves or flow control mechanisms to optimize the water flow for efficient heating.
-
Consult professionals for complex installations: If you encounter any difficulties during the assembly or installation process, don’t hesitate to seek professional advice. They can provide guidance and assistance to ensure a successful installation.
By following these tips and troubleshooting techniques, you can maximize the performance of your DIY solar heater and resolve any issues that may arise.
Conclusion
Building a DIY solar heater for your inflatable pool is an exciting and rewarding project. Not only does it provide an eco-friendly and cost-effective heating solution, but it also extends your pool season and enhances your swimming experience.
By carefully following the step-by-step guide outlined in this article, you can assemble, install, and maintain a solar heater that meets your heating requirements. Embrace the benefits of solar energy, reduce energy costs, and make the most of your inflatable pool throughout the year. So go ahead, take a dip into warm waters, and enjoy the comfort and satisfaction of your very own DIY solar heater.
